So the simple Pololu robot, which just wanders about, seems a simple place to start.
The block code is at https://makecode.microbit.org/_DhzMamc444r0
It appears that I got myself a bargain when I bought the chassis. £8.50 was all I paid, and now the only ones I can find on sale are about £23.00 or more!! The chassis is the Pololu Romi, and bought as a kit it has wheels and motor-gearboxes. It all clips together so is easy to assemble.
 The next item is the Kitronik motor control board for the BBC micro:bit. I have used one of these on the other microbit project and they are well made and a reasonable price. Kitronik motor controller
This too is easy to use, since the connections are made to screw terminals.
As you can see, I have left one (power) connection disconnected. This could really do with a switch for convenience. Its not connected since the microbit should not be plugged or unplugged with power applied.
Now the motors are not pre-wired, so you will need to solder two wires onto each motor and then connect up to the Kitronik board (easy!). There are plenty of holes in the chassis to which mounting posts can be screwed, although unfortunately they dont quite match up with the holes on the Kitronik board. Only one of the posts on my Kitronik board is screwed down top and bottom, but its not going to be subject to much stress, so I'm happy that "it will do".
Ok so there is a couple of power wires from the battery box to solder and then connect to the motor control board (Leave one wire disconnected at the board end for now) and then we are almost ready!
Next the microbit needs to be programmed. My code (link above) is quite simplistic. I found it easy to use the block programming language to put something together, and I think its pretty easy to understand. The Kitronik library is a download which you get by first clicking on the "gear wheel" icon (top right of the makecode page) and choosing "add package", then in the search box type "kitronik", and search. Two packages are shown, and just click on the "kitronik-motor-driver" package and it will be added to the list of blocks.
I found an example relating to hacking an old radio-control (r/c) car, and there is quite a bit more useful info about using a second microbit to send messages to the first one using bluetooth, and thereby acting as a remote control! You might like to try this - I haven't (so far).
Plug your programmed microbit in to the edge connector (socket), connect up the power and you are ready to go. The code I wrote uses button A to start the robot, and button B to make it stop.
Have fun!
The block code is at https://makecode.microbit.org/_DhzMamc444r0
It appears that I got myself a bargain when I bought the chassis. £8.50 was all I paid, and now the only ones I can find on sale are about £23.00 or more!! The chassis is the Pololu Romi, and bought as a kit it has wheels and motor-gearboxes. It all clips together so is easy to assemble.

This too is easy to use, since the connections are made to screw terminals.
 |
| Motor control board fastened in place |
Now the motors are not pre-wired, so you will need to solder two wires onto each motor and then connect up to the Kitronik board (easy!). There are plenty of holes in the chassis to which mounting posts can be screwed, although unfortunately they dont quite match up with the holes on the Kitronik board. Only one of the posts on my Kitronik board is screwed down top and bottom, but its not going to be subject to much stress, so I'm happy that "it will do".
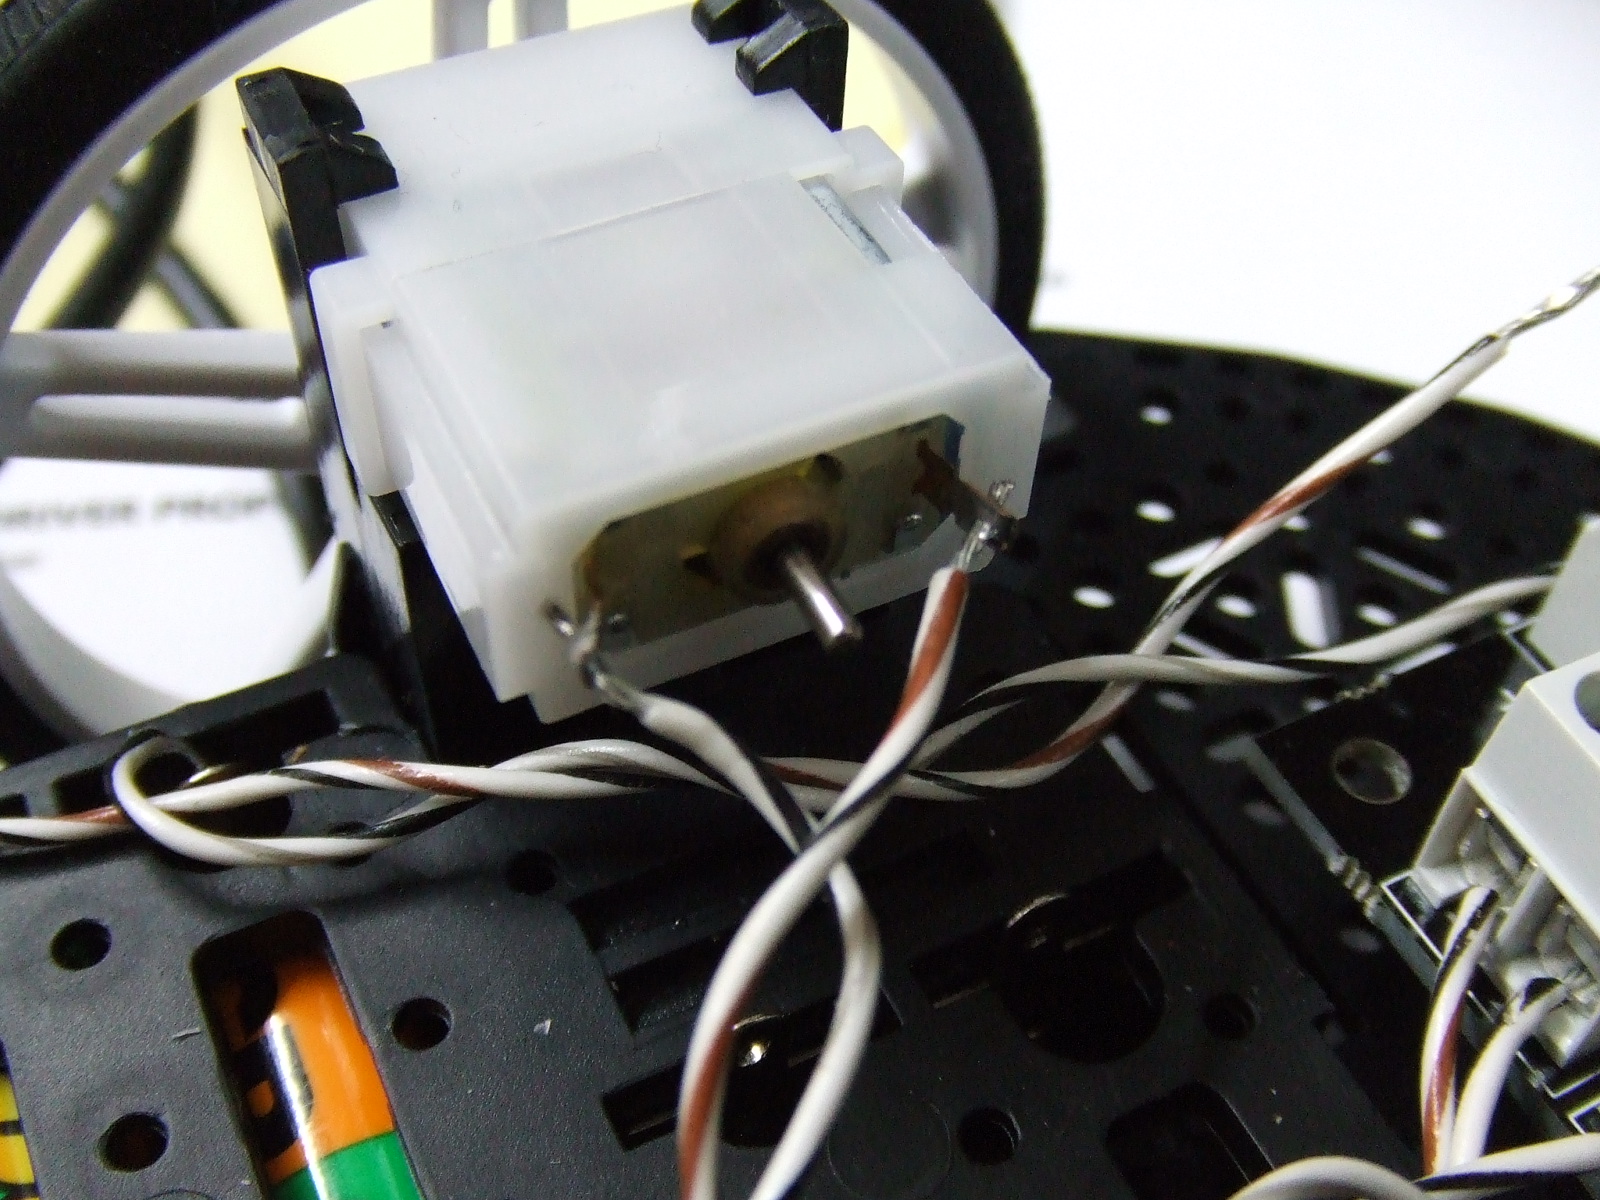 |
| Motors soldered to connecting wires |
 |
| BBC micro:bit in place |
Next the microbit needs to be programmed. My code (link above) is quite simplistic. I found it easy to use the block programming language to put something together, and I think its pretty easy to understand. The Kitronik library is a download which you get by first clicking on the "gear wheel" icon (top right of the makecode page) and choosing "add package", then in the search box type "kitronik", and search. Two packages are shown, and just click on the "kitronik-motor-driver" package and it will be added to the list of blocks.
I found an example relating to hacking an old radio-control (r/c) car, and there is quite a bit more useful info about using a second microbit to send messages to the first one using bluetooth, and thereby acting as a remote control! You might like to try this - I haven't (so far).
Plug your programmed microbit in to the edge connector (socket), connect up the power and you are ready to go. The code I wrote uses button A to start the robot, and button B to make it stop.
Have fun!


Comments